Java Installation
Java is a high-level programming language originally developed by Sun Microsystems and released in 1995. Java is one of the world’s most important and widely used computer languages. Today, it is still the first and best choice for developing web-based applications. Simply put: much of the modern world runs on Java code. Java really is that important. Java has continually adapted to changes in the programming environment and to changes in the way that programmers program. Java runs on a variety of platforms, such as Windows, Mac OS, and the various versions of UNIX. This tutorial gives a complete understanding of Java. This reference will take you through simple and practical approaches while learning Java Programming language.
Java Installation Process
Here is the step-by-step process for installing the Java JDK on your computer:
- Go to the Oracle website and download the Java JDK installer. Make sure you download the appropriate version for your operating system.
- Double-click on the downloaded file to start the installation process.
- Follow the on-screen instructions to complete the installation process. You will need to accept the license agreement, choose the installation directory, and select the components you want to install.
- Once the installation is complete, you need to set the environment variables to point to the JDK installation directory. This step is necessary so that your computer can find the Java executables and libraries. Here's how to do it On Windows:
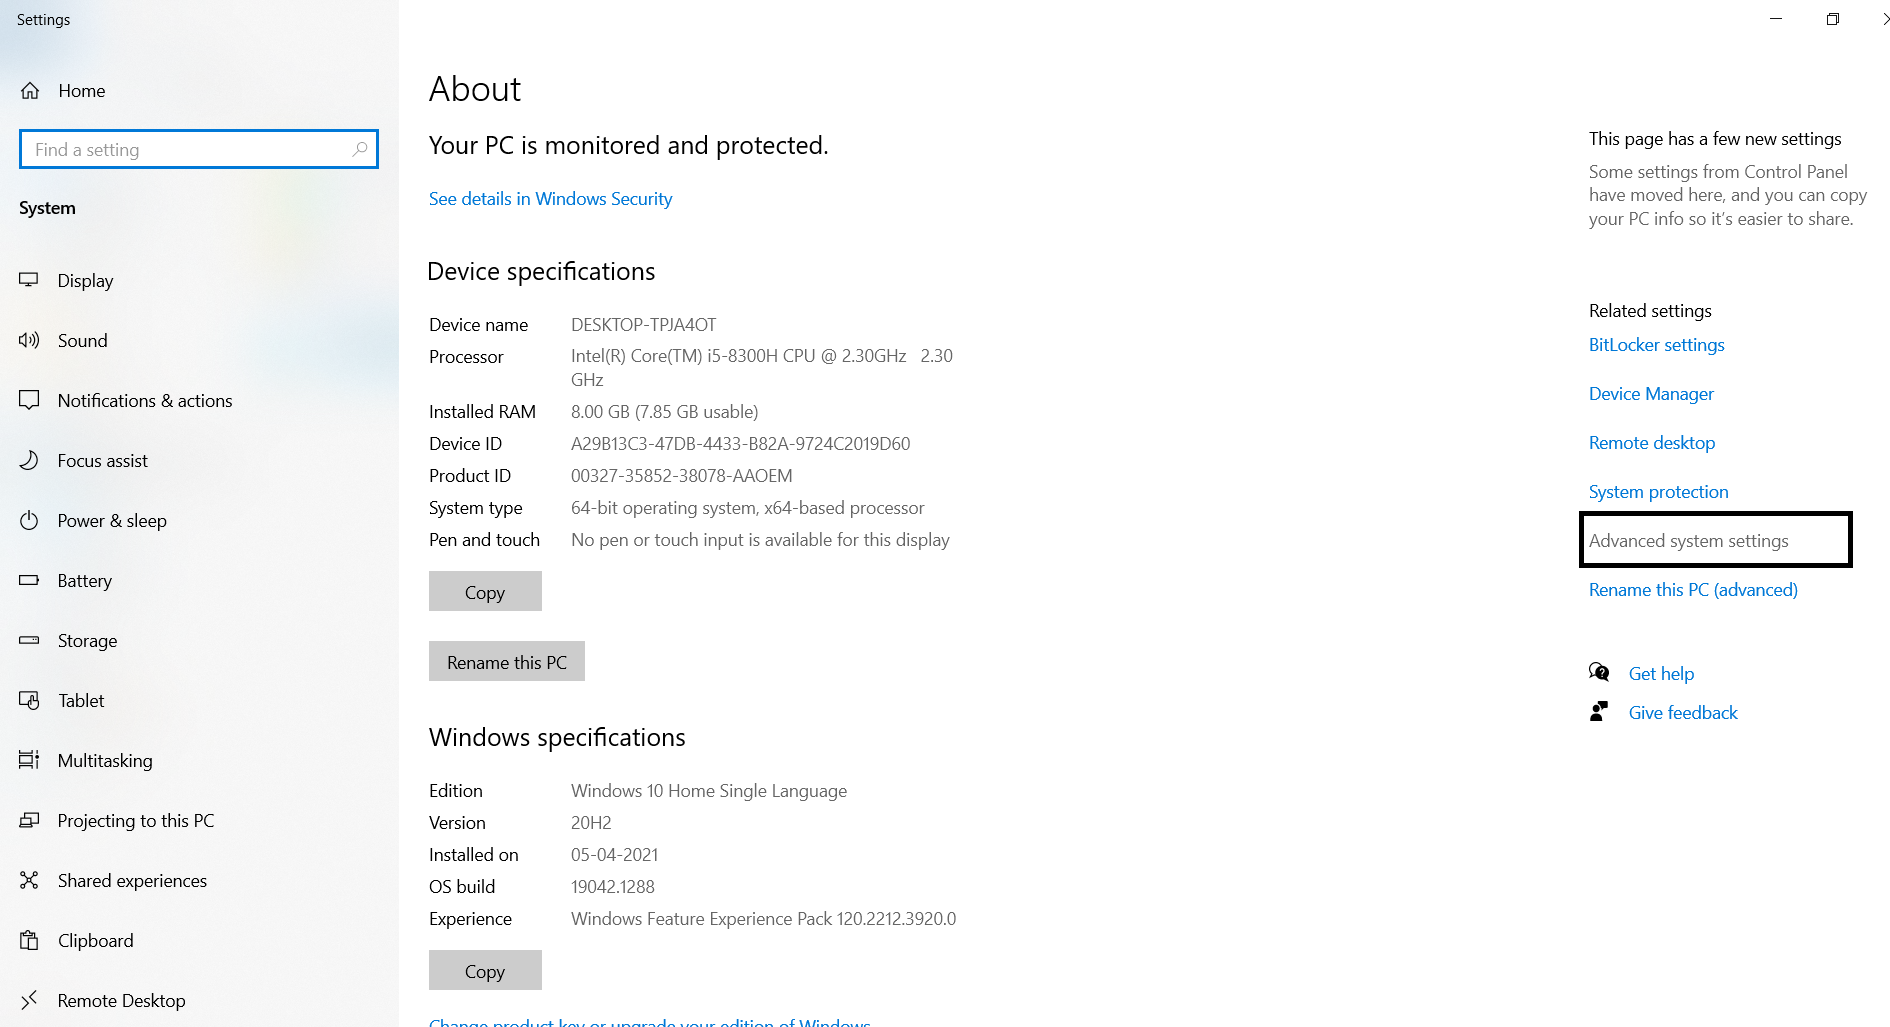
- Open the Control Panel and go to System > Advanced system settings.
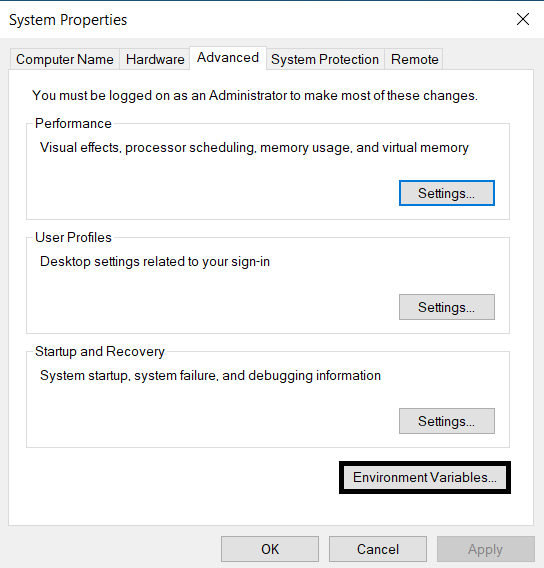
- Click on the "Environment Variables" button.
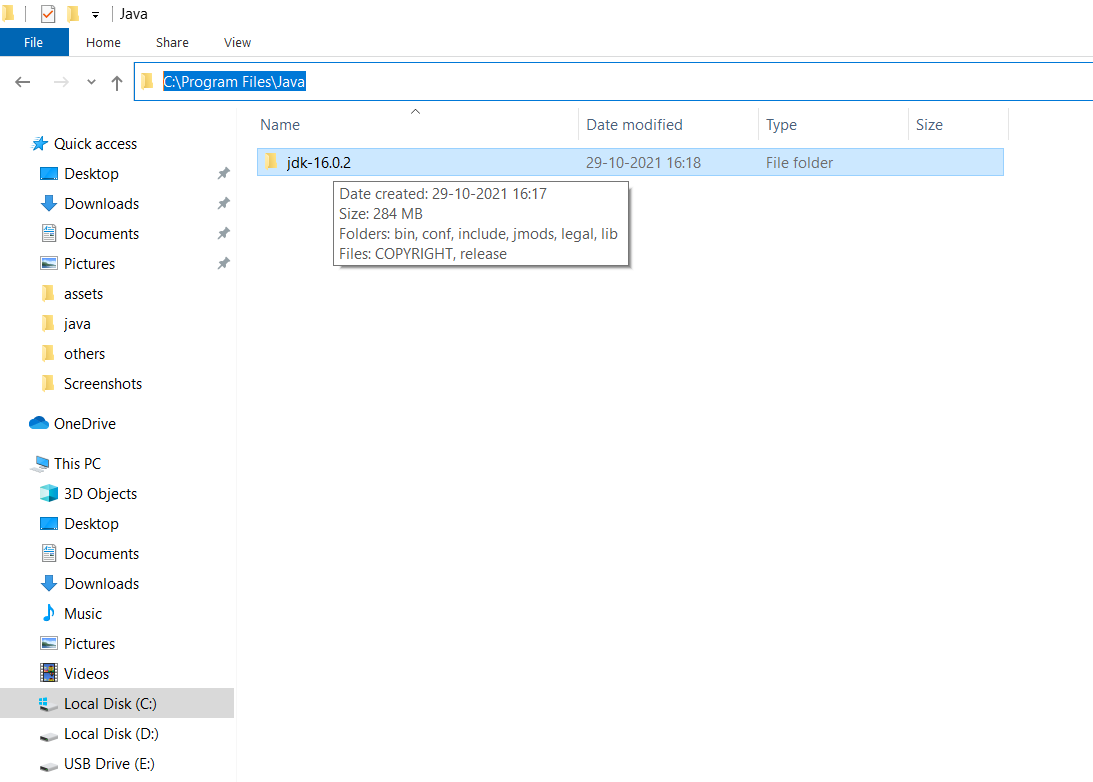
- Under "System Variables", click "New" and create a new variable called "JAVA_HOME" with the path to the JDK installation directory as its value (e.g., C:\Program Files\Java\jdk1.8.0_211).
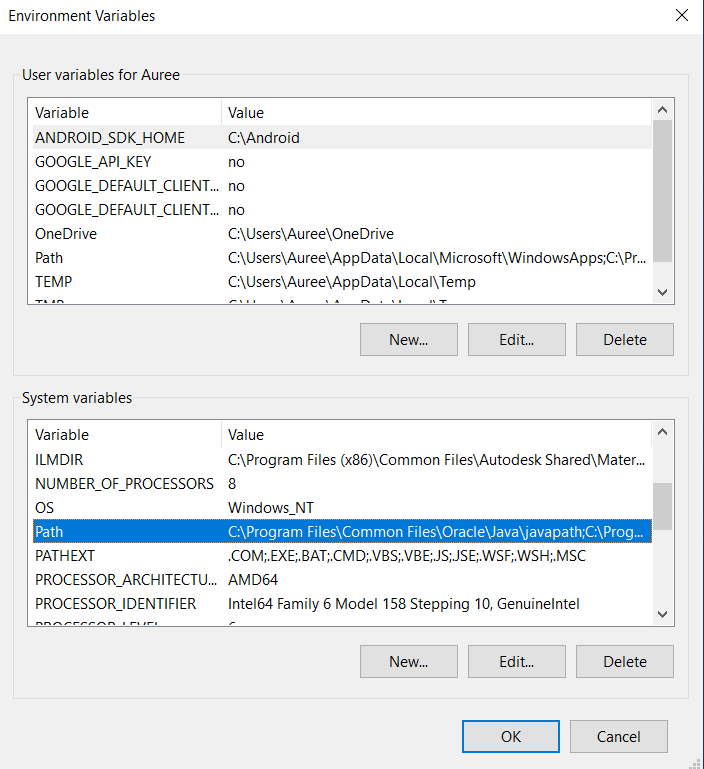
- Edit the "Path" variable and append the path to the "bin" directory inside the JDK installation directory (e.g., %JAVA_HOME%\bin).
- Verify the installation by opening a new terminal window and typing "java -version". This should display the version of the installed JDK.
Step 1:Go to the Google search -> Java jdk download.

Step 2:Click -> JDK Download button.
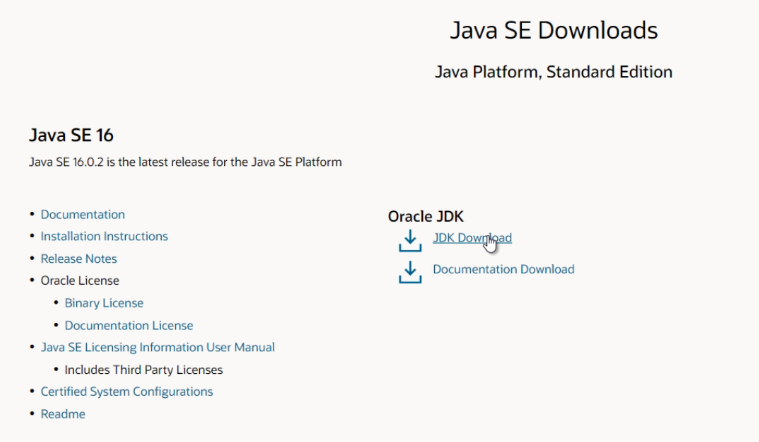
Step 3:Choose the JDK for your operating system.Click -> Download the "exe" installer

Step 4:Click -> "Accept License Agreement"
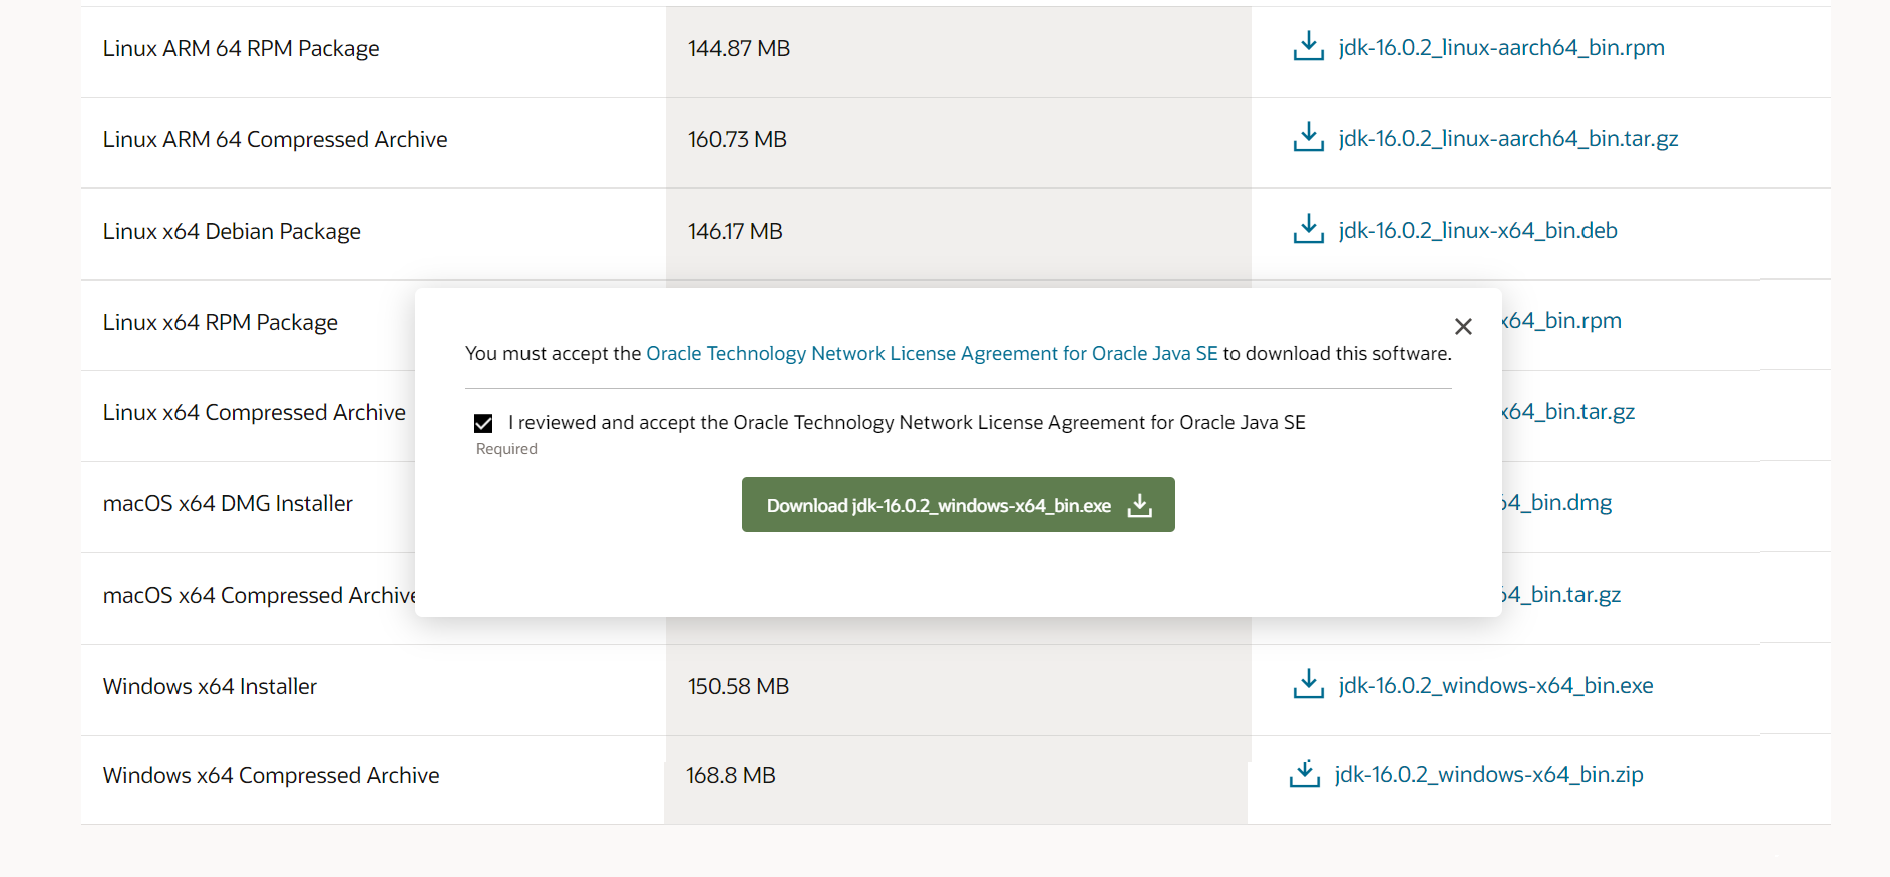
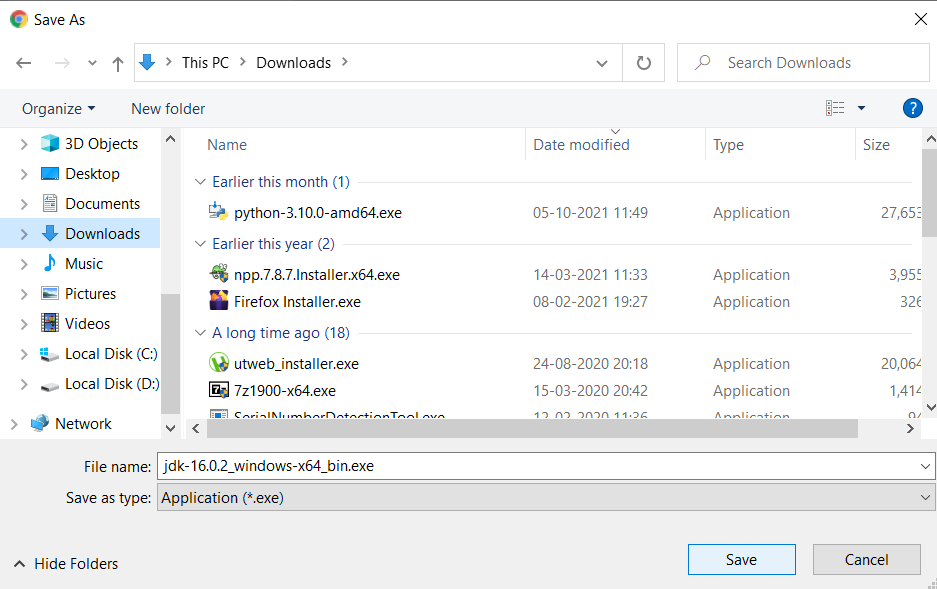
Step 5:Click ->Download
Step 6: 1. Click -> Next to start installing process
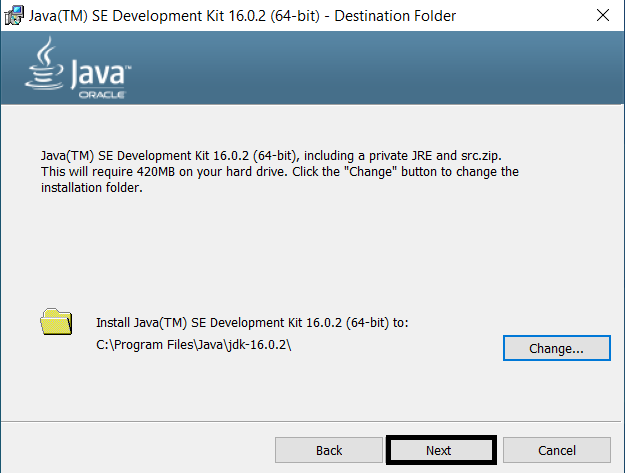
Step 7:JDK installation process take some time

Step 8: Copy JDK installed directory path. Then go to This PC -> Right Click -> Properties
Step 9: Click -> "Advanced system settings" on the left Side.
Step 10: Click -> Environment variables Button
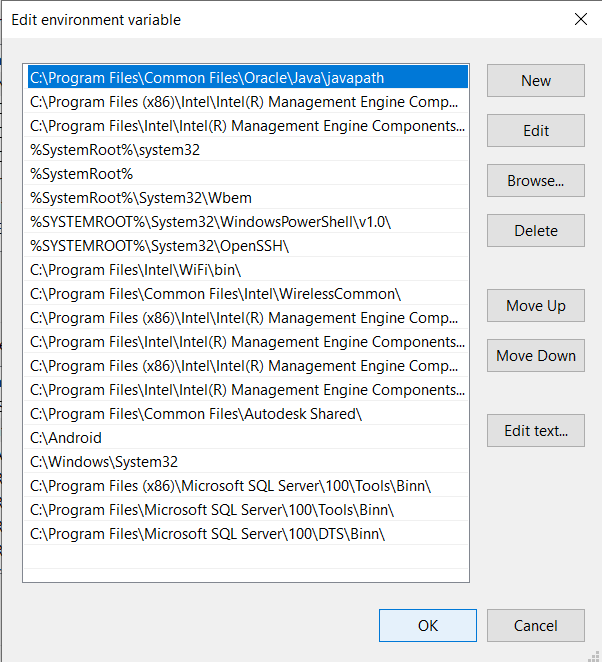
Step 11: Select the system variable -> Path -> Click Edit ->
Step 12: You will see a TABLE listing for all existing PATH entries. Click -> "New" -> paste your path -> then click ok
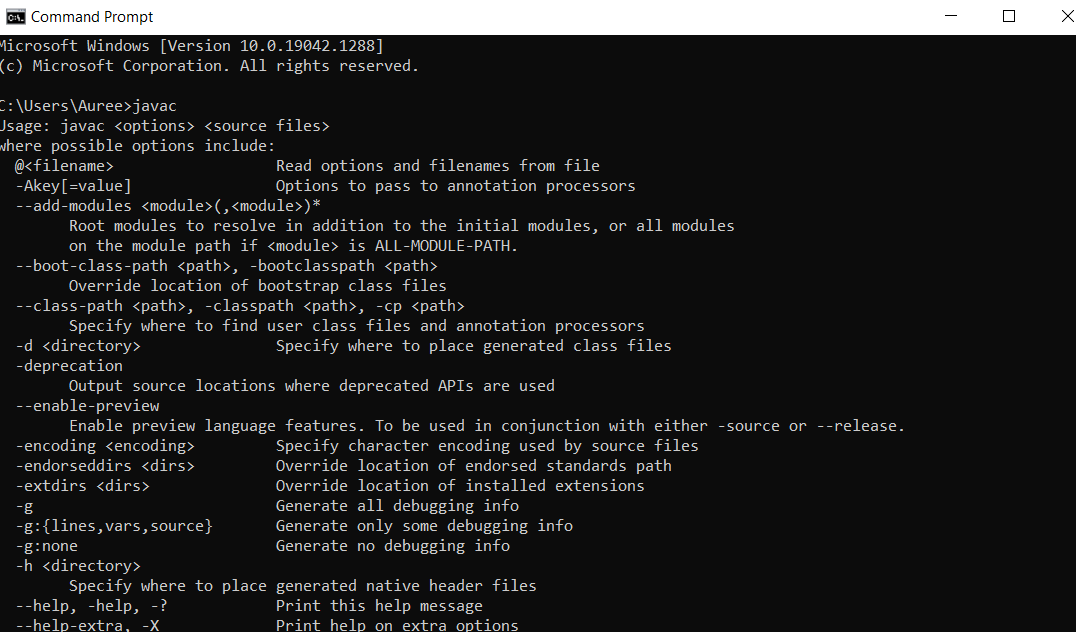
Step 13:Start -> Enter cmd (or) Command Prompt -> Choose Command Prompt -> Type javac,next type java and press Enter
Step 14:Go to the Google -> Intellij download.

Step 15:Click -> Intellij link -> Click -> Download

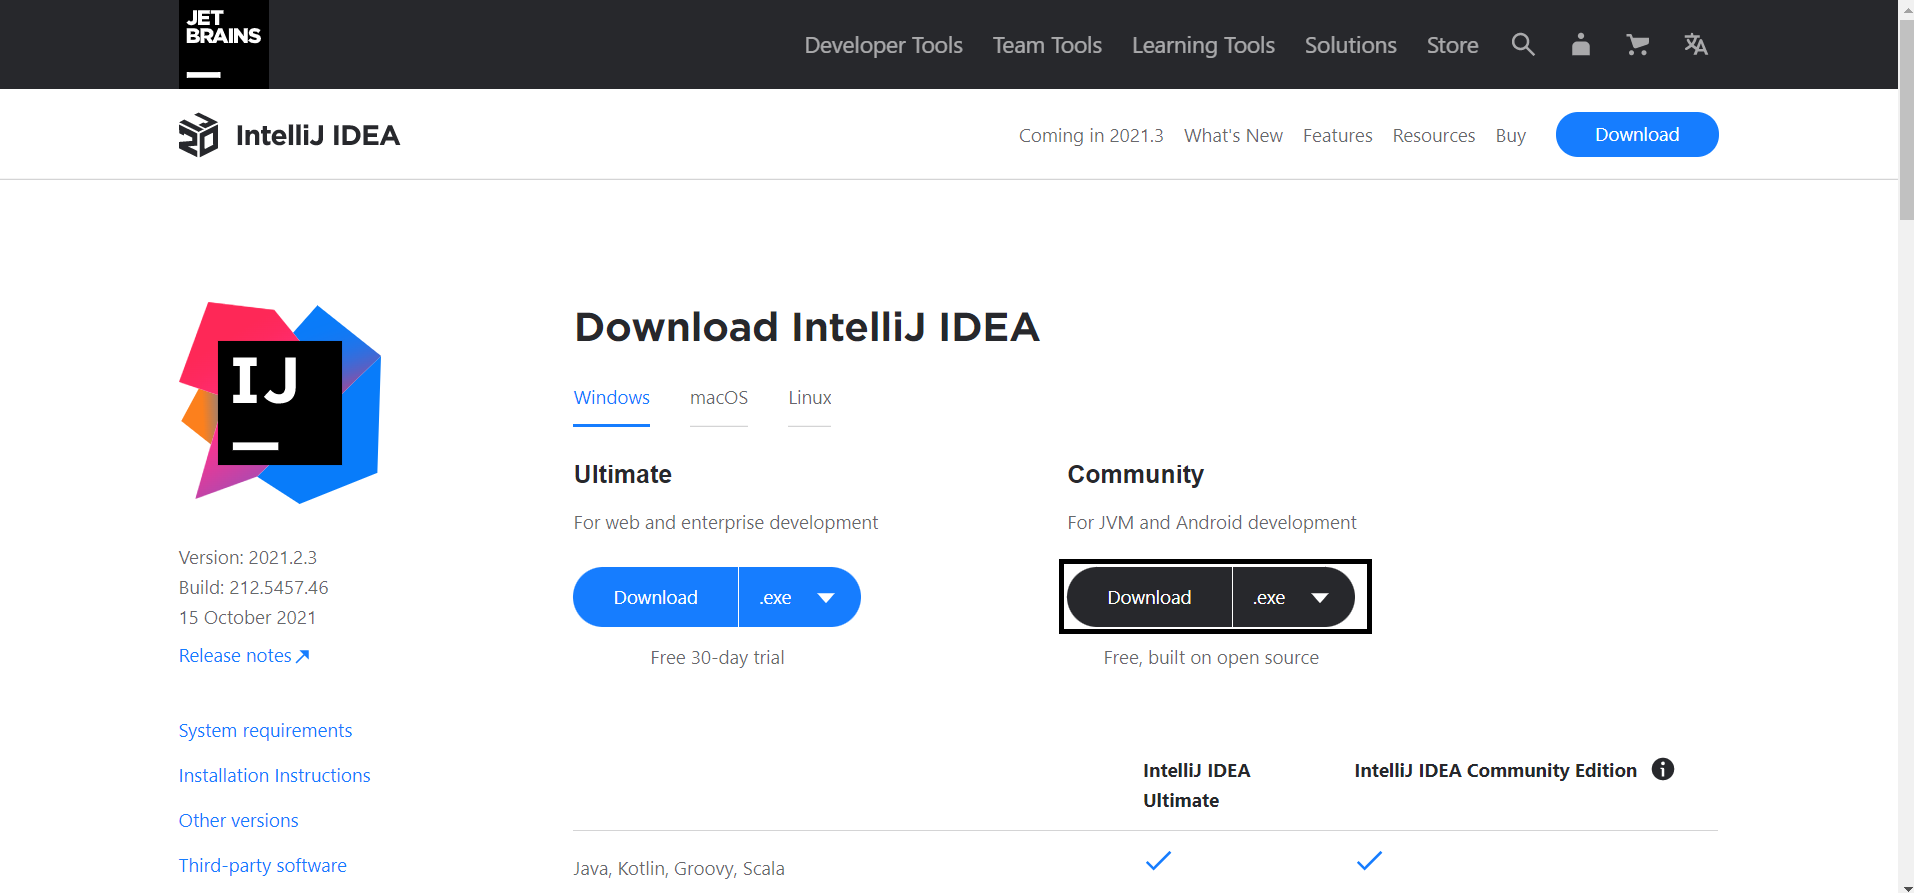
Step 16:Click -> Choose Community Download -> Click download.
Step 17: You can see, intellij IDEA is installed directory ("C:\Program Files\…). Accept the defaults and follow the screen instructions to install intellij IDEA.Click -> Next.
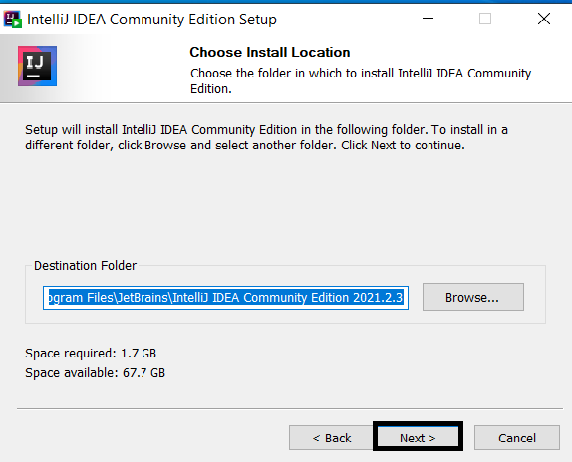
Step 18:Click -> Next .
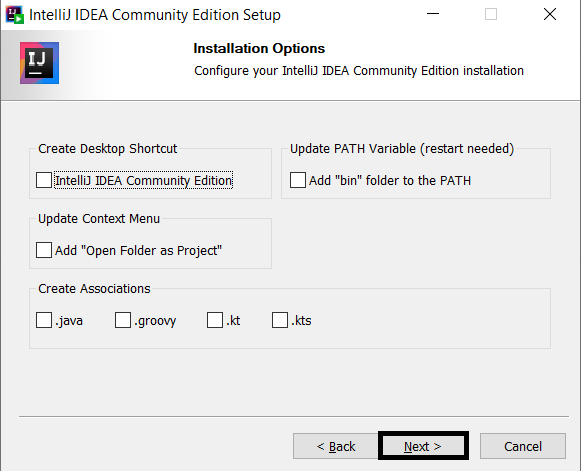
Step 19:Click -> install .
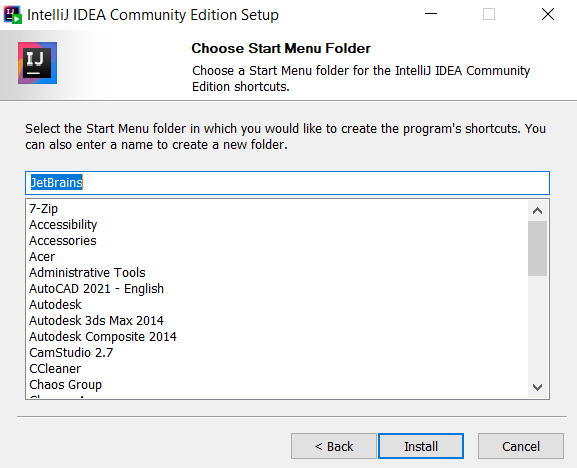
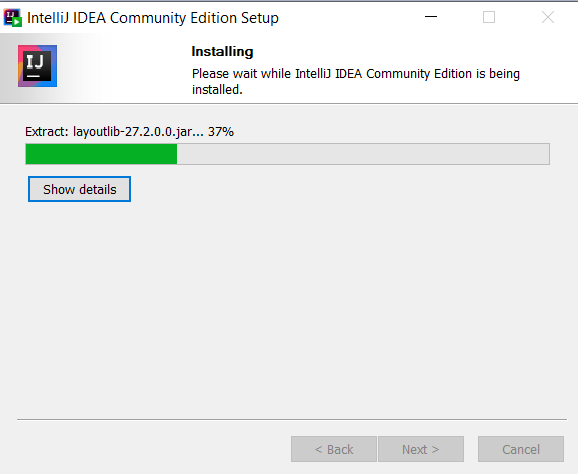
Step 20:intellij IDEA Installing
Step 21:Click -> Finish
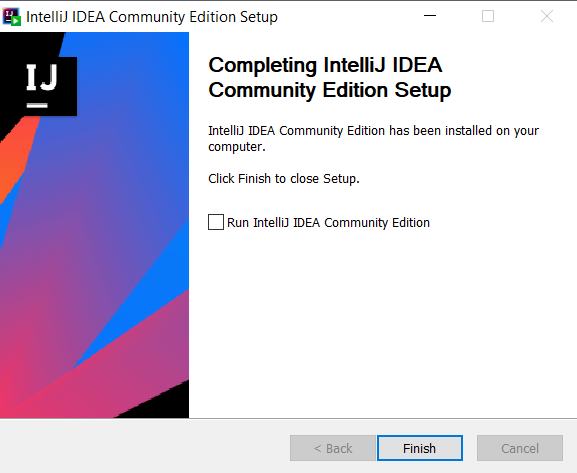
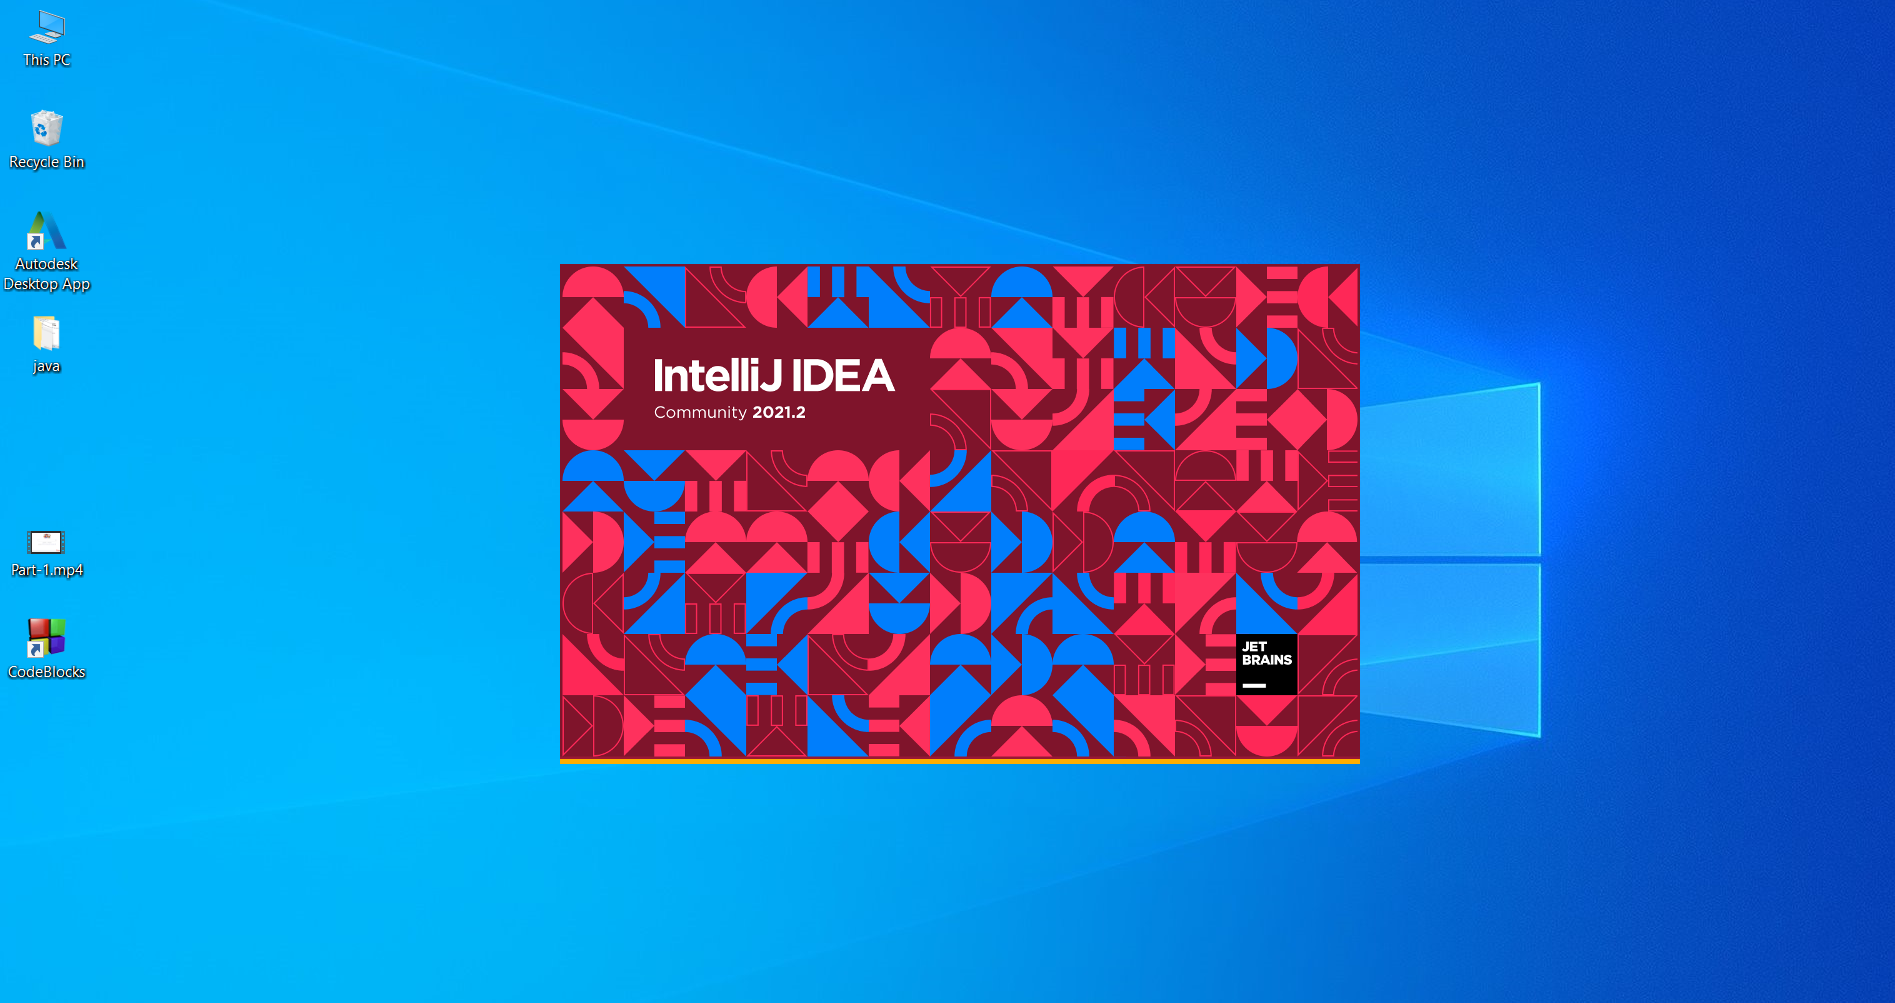
Step 22:Start -> Enter intellij IDEA -> Open intellij IDEA
Basic Programs
Learn All in Tamil © Designed & Developed By Tutor Joes | Privacy Policy | Terms & Conditions