Step-by-Step Guide to MongoDB Installation on Windows
Step 1 : Go to the MongoDB download page at (https://www.mongodb.com/try/download/community/) and select the "Windows" tab.

Step 2 : Under "Version", select the desired version of MongoDB to download.

Step 3 : Under "OS", select the appropriate version of Windows.

Step 4 : Click the "Download" button to download the MongoDB installer.

Step 5 : Install MongoDB : Double-click on the downloaded file to begin the installation process. Follow the instructions in the installer to complete the installation.
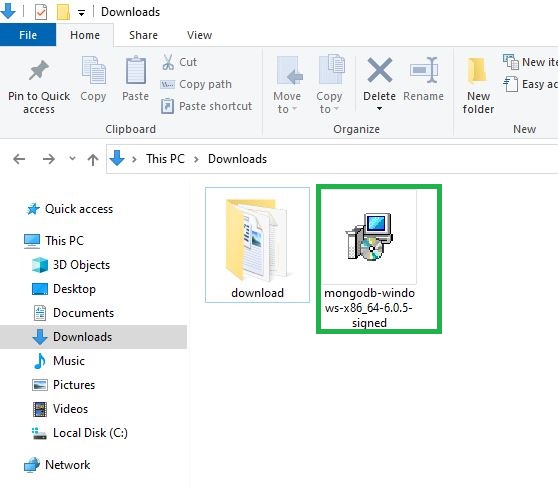
Step 6 : Click "Next" to start install MongoDB.

Step 7 : Select the "I accept the terms in the License Agreement" option and click "Install."

Step 8 : Choose the setup type that best suits your needs . Click the "Complete" button.

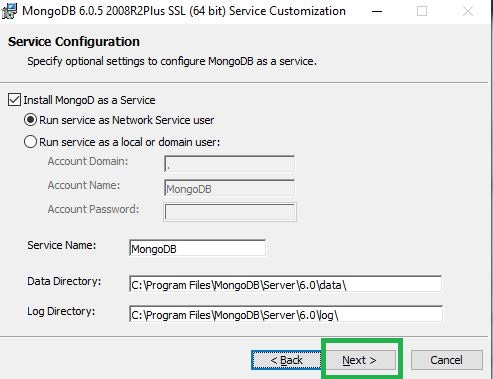
Step 9 : Click the "Next" button.
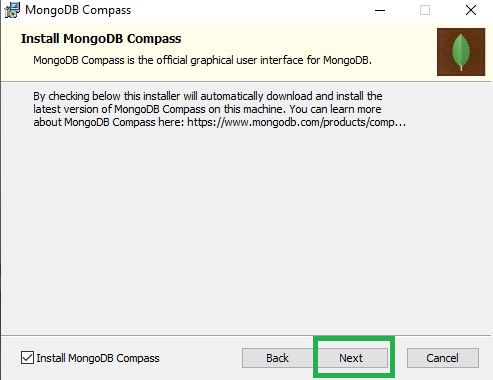
Step 10 : Select the "Install MongoDB Compass" option and click "Next."
Step 11 : Click the "Install" button.
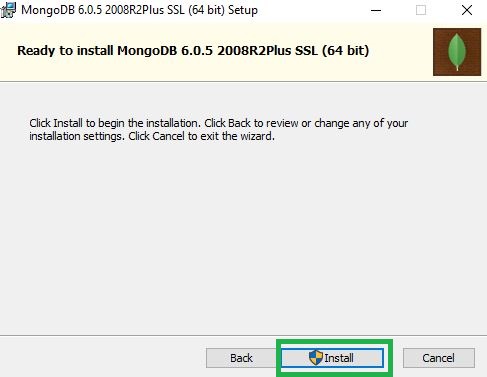
Wait for the installation to complete. This may take several minutes.
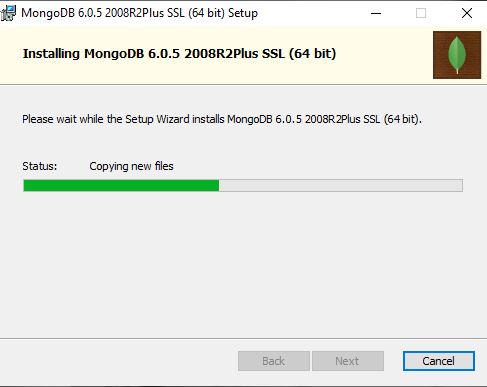
Step 12 : Click the "Finish" button.

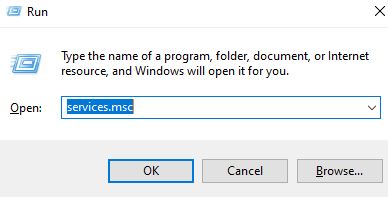
Step 13 : After the installation is complete, open a command prompt by pressing the Windows key + R and typing "services.msc" in the Run dialog box. Press Enter to open the command prompt.

MongoDB Tutorial
Learn All in Tamil © Designed & Developed By Tutor Joes | Privacy Policy | Terms & Conditions