Install Django and Create New Application
To install Django on a Windows PC and create a first web application. We will guide you through the step-by-step process of creating your first Django web application.
Step 1 : Create a New Folder and Open Visual Studio Code.
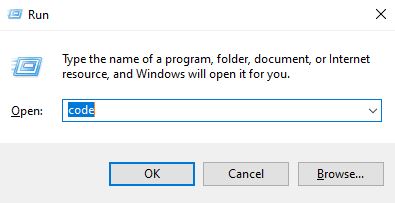
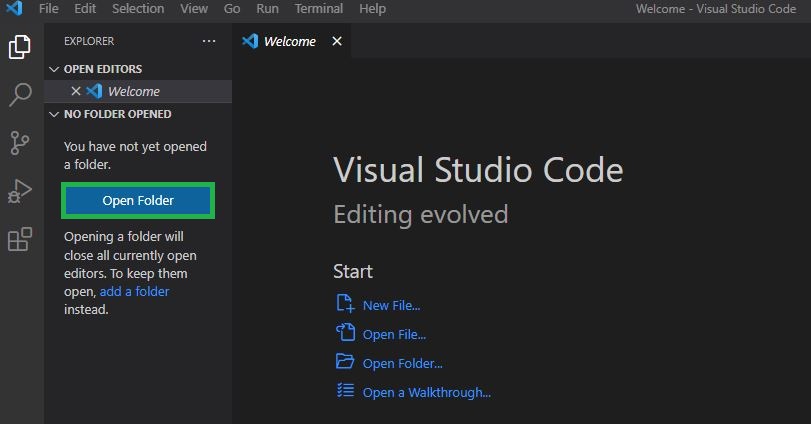
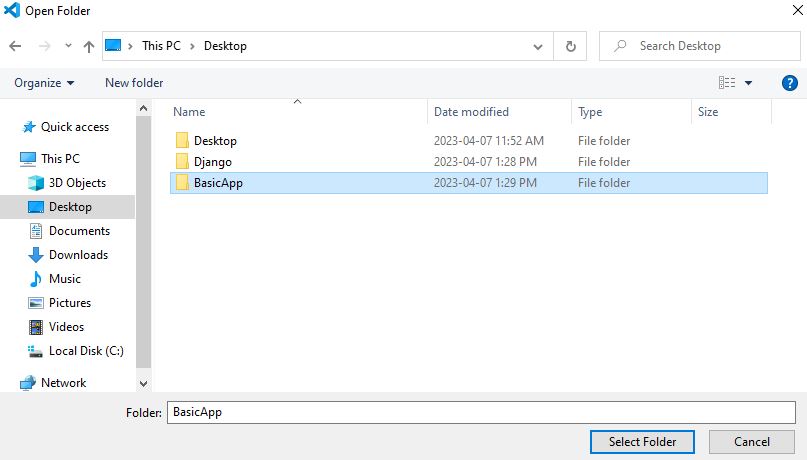
First, create a new folder called "BasicApp" on your computer. Open VSCode and navigate to the "BasicApp" folder by clicking on "File" > "Open Folder" and selecting the "BasicApp" folder.
Step 2 : Check Python Version

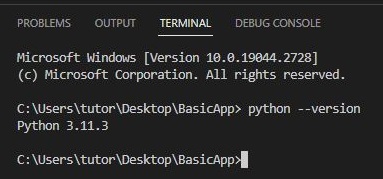
Before we start, it is important to make sure that Python is installed on your computer. Open the VSCode terminal by clicking on "Terminal" > "New Terminal". In the terminal, type "python --version" and press Enter. If Python is installed, you should see the version number displayed in the terminal.
Step 3 : Install Pipenv Package
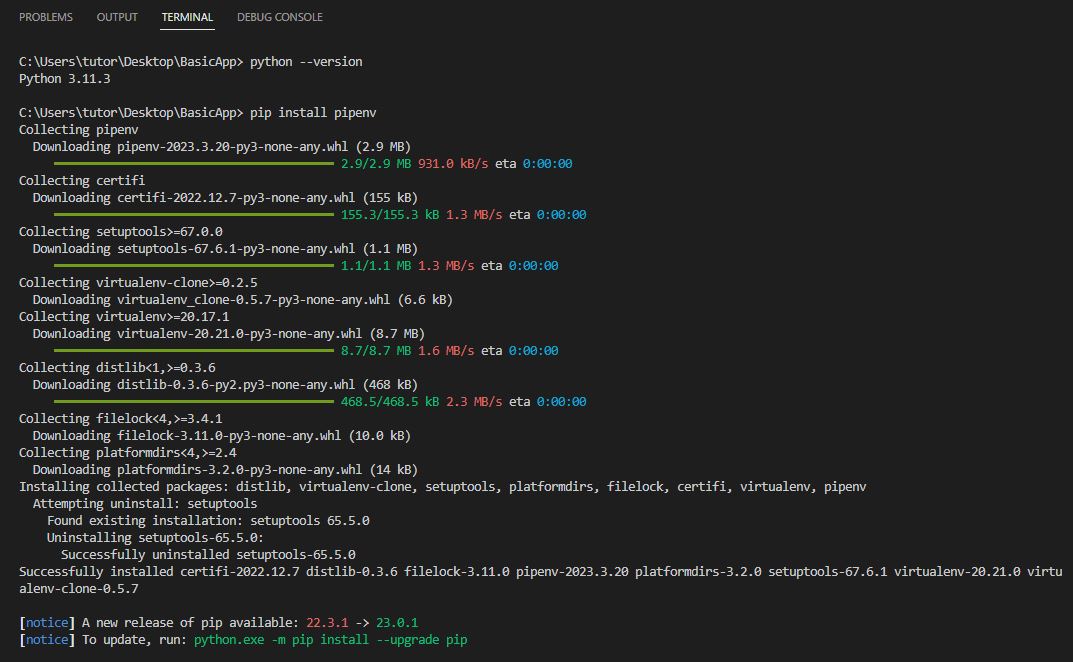
Next, we will install the Pipenv package, which is a tool for managing virtual environments in Python. In the terminal, type "pip install pipenv" and press Enter. This will install the Pipenv package on your computer.
Step 4 : Activate Virtual Environment
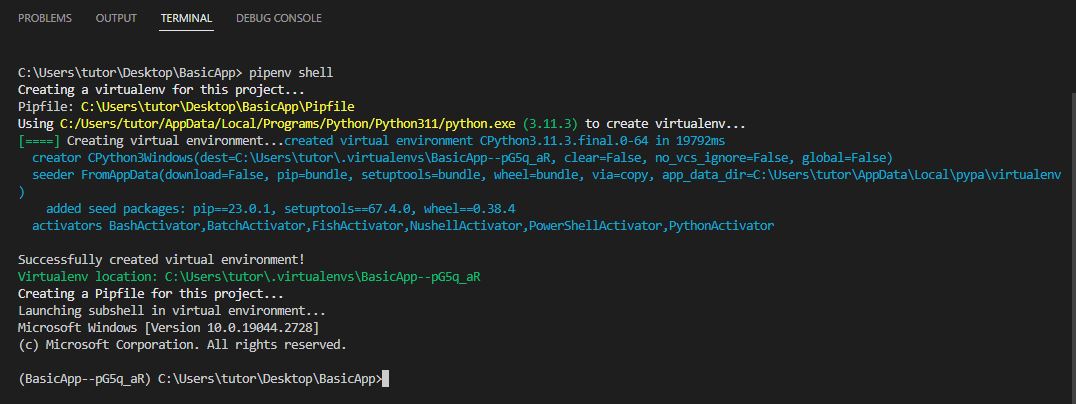
Now, we will create a virtual environment for our Django project. In the terminal, type "pipenv shell" and press Enter. This will activate the virtual environment.
Step 5 : Check Virtual Environment
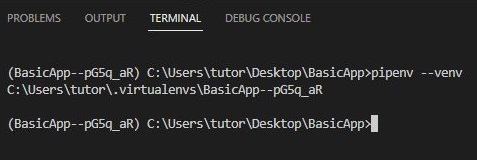
To make sure that the virtual environment is active, type "pipenv --venv" in the terminal and press Enter. This will display the path to the virtual environment.
Step 6 : Install Django Package
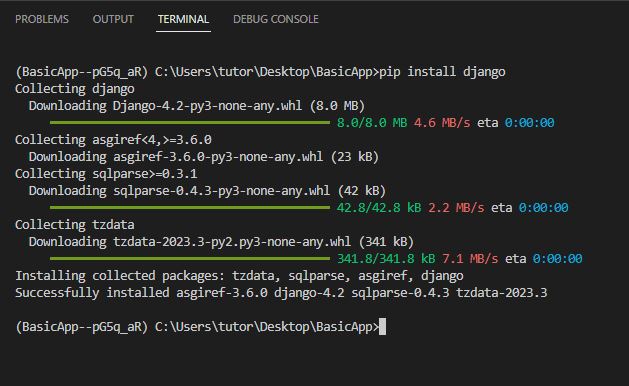
In the terminal, type "pip install django" and press Enter. This will install the Django package in the virtual environment.
Step 7 : Check Django-Admin Commands
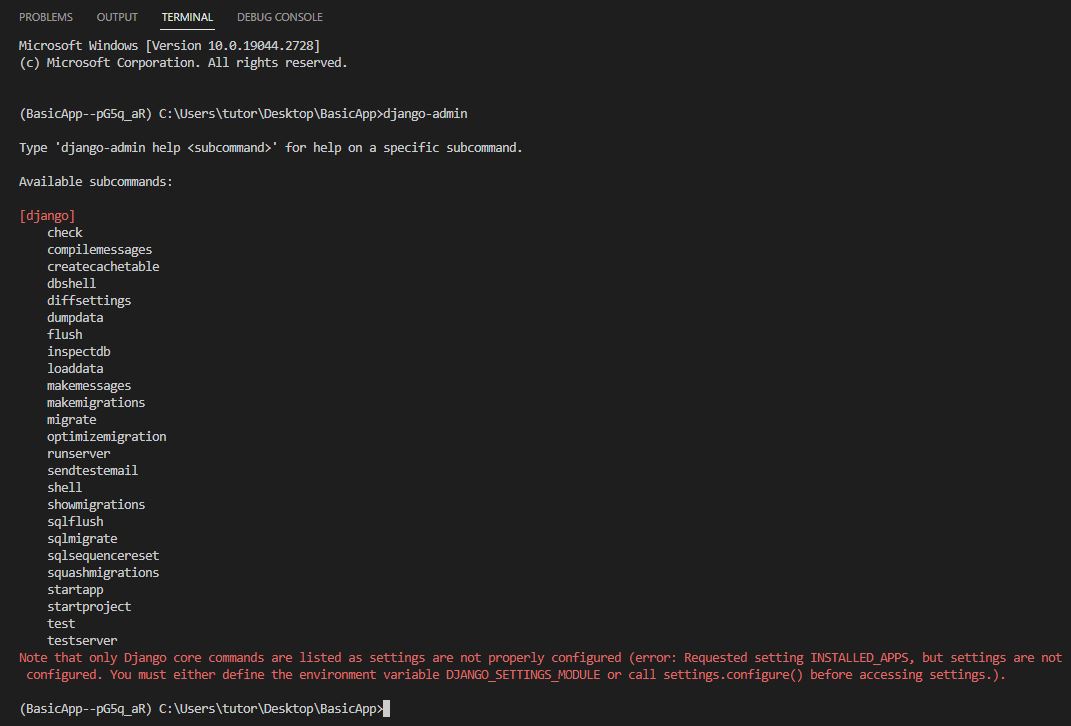
To check if Django is installed and to see a list of available Django-admin commands, type "django-admin" in the terminal and press Enter.
Step 8 : Create a New Project in the Same Directory

To create a new Django project, type "django-admin startprojectjoes_project ." in the terminal and press Enter. This will create a new Django project called "joes_project" in the current directory.
Step 9 : Run the Project
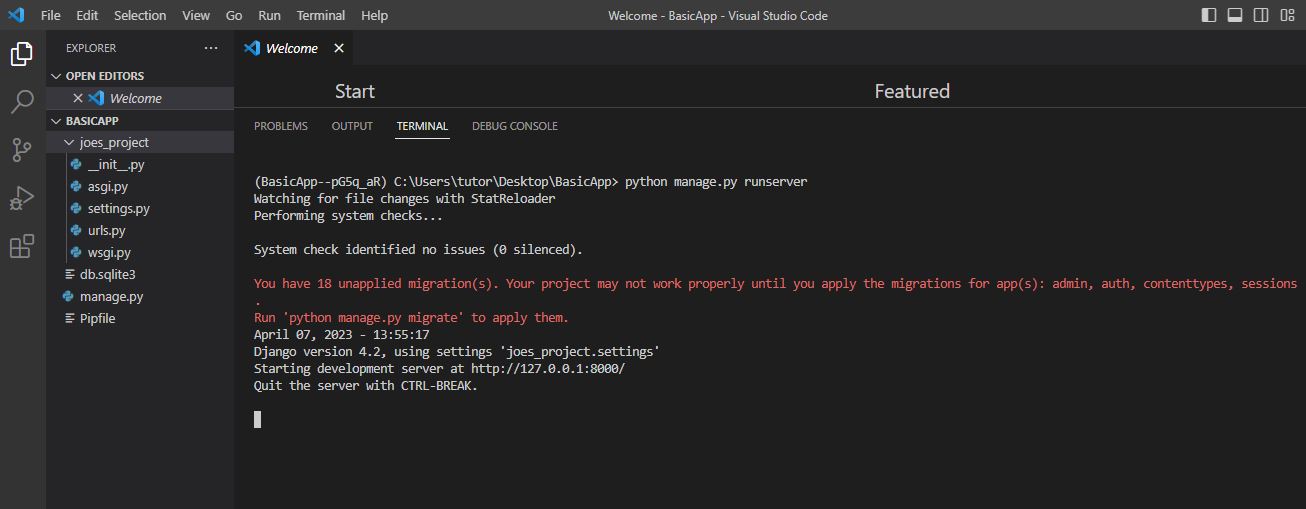
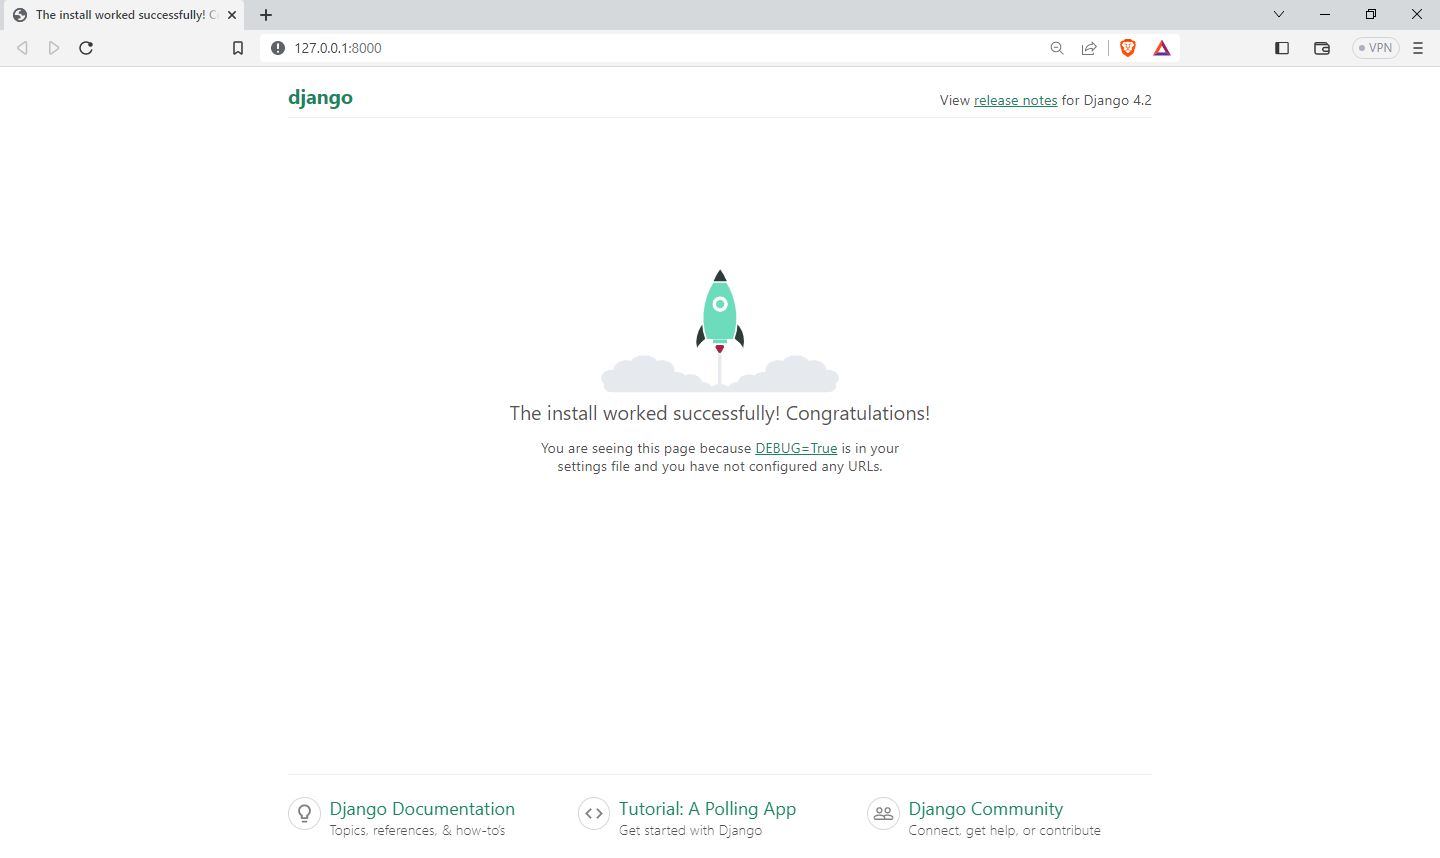
To run the project, navigate to the "joes_project" directory by typing "cd joes_project" in the terminal and pressing Enter. Then, type "python manage.py runserver" and press Enter. This will start the Django development server.
Step 10 : Additional - Change Project Port
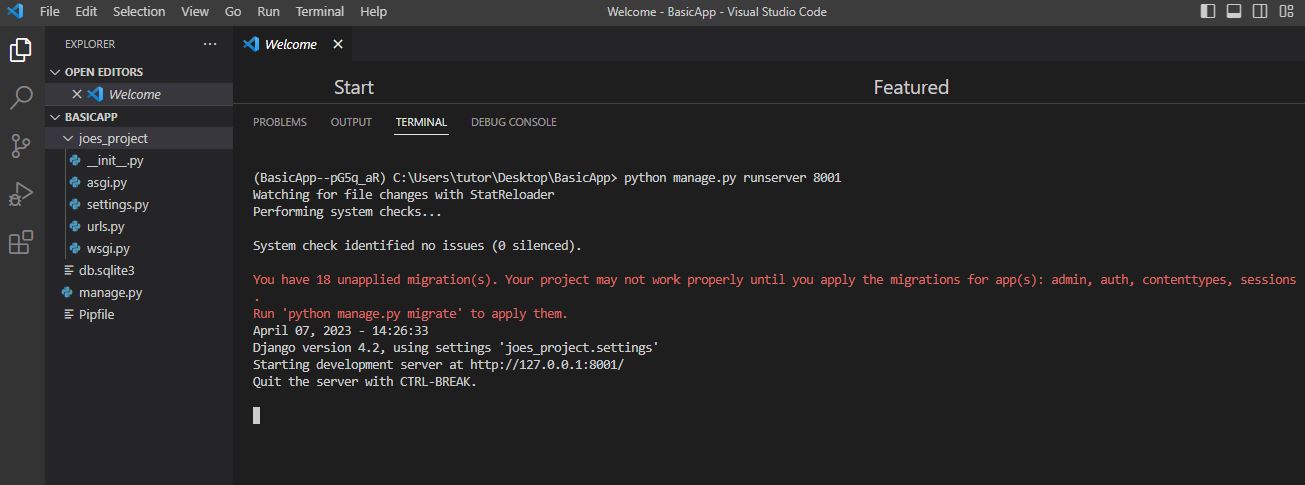
If you want to run the project on a different port than the default port (8000), you can specify the port number in the command. For example, to run the project on port 8001, type "python manage.py runserver 8001" in the terminal and press Enter
List of Programs
Learn All in Tamil © Designed & Developed By Tutor Joes | Privacy Policy | Terms & Conditions