How to Create New Project in VS Code in Flask
Step 1 : Go to the official Python website (https://www.python.org/downloads/) and download the latest version of Python for Windows.

Make sure you have Python and Flask installed on your local machine. If you don't have them installed, you can download and install them from the Python and Flask official websites.
Step 2 : Go to the official Visual Studio Code website (https://code.visualstudio.com/download/) and download the latest version of Visual Studio Code for Windows.

If you don't have VS Code installed, you can download and install it from the VS Code official website.
Step 3 : Open Visual Studio Code and Create a New Folder

Create a new folder on your local machine where you want to store your Flask project. You can choose any name for the folder.

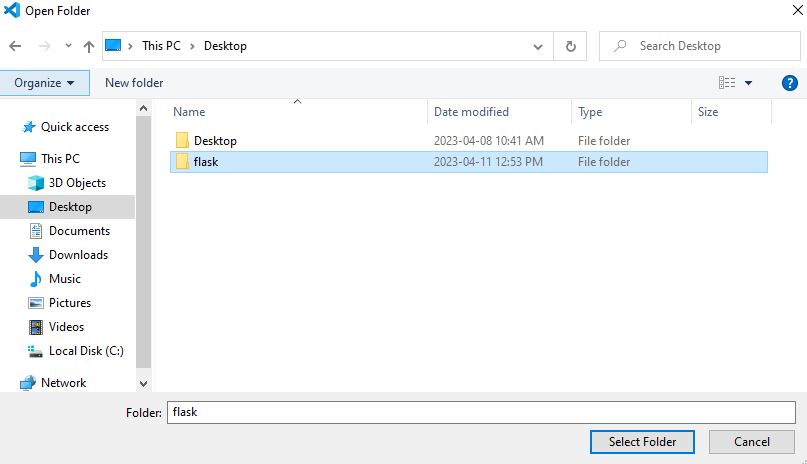
First, create a new folder called "flask" on your computer. Open VSCode and navigate to the "flask" folder by clicking on "File" > "Open Folder" and selecting the "flask" folder.
Step 4 : Create a Flask App

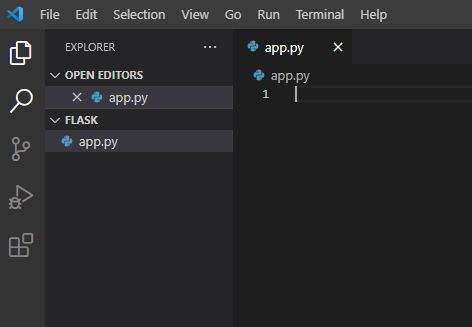
Create a new Python file with a ".py" extension in the folder of your Flask project. This will be your Flask application file. You can choose any name for the file, e.g., "app.py".
Step 5 : Open the Terminal in VS Code

Open the VSCode terminal by clicking on "Terminal" > "New Terminal".
Step 6 : Install Flask

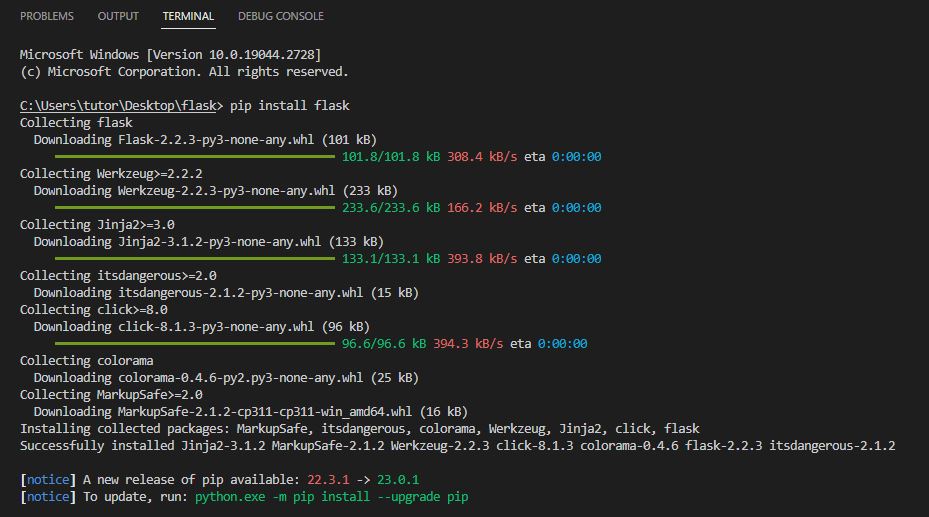
In the terminal, type "pip install flask" and press Enter. This will install the flask package on your computer.
Step 7 : Check Flask Version

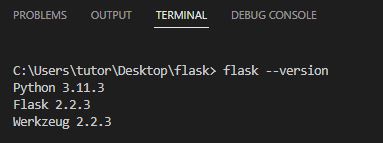
In the terminal, type "flask --version" and press Enter. If Python is installed, you should see the version number displayed in the terminal.
Step 8 : Write Sample Code
from flask import Flask

app = Flask(__name__)

@app.route('/')
def index():
	return '<h1>Tutor joes</h1>'

if __name__ == '__main__':
	app.run(debug=True)
"from flask import Flask": This line imports the Flask module and makes the Flask functionalities available for use in your code. "app = Flask(__name__)": This line creates an instance of the Flask application class called app. The __name__ argument is a special variable in Python that represents the name of the current module. It is used by Flask to determine the root path of the application.
"@app.route('/')": This line defines a route for the root URL "("/")" of the Flask application. The "@app.route()" decorator is a Flask decorator that associates a URL route with a Python function. In this case, it associates the root URL ("/") with the "index()" function defined below it.
"def index():": This is a Python function called index() that defines the logic for handling requests to the root URL ("/") of the Flask application. In this example, it returns a simple HTML response of "<h1>Tutor joes</h1>". "if __name__ == '__main__':": This conditional statement checks if the current script is being run directly (as opposed to being imported as a module). If it is being run directly, the following block of code will be executed.
"app.run(debug=True)": This line starts the Flask development server and runs the Flask application. The debug=True argument enables the Flask application to run in debug mode, which provides additional information for debugging during development.
Step 9 : Run the Flask App

Open a web browser and go to http://127.0.0.1:5000/ to access your Flask app locally.

You should see "Tutor joes" displayed in the browser, which means your Flask app is running successfully.
Flask Tutorial
Learn All in Tamil © Designed & Developed By Tutor Joes | Privacy Policy | Terms & Conditions