How to Install XAMPP: A Step-by-Step Guide
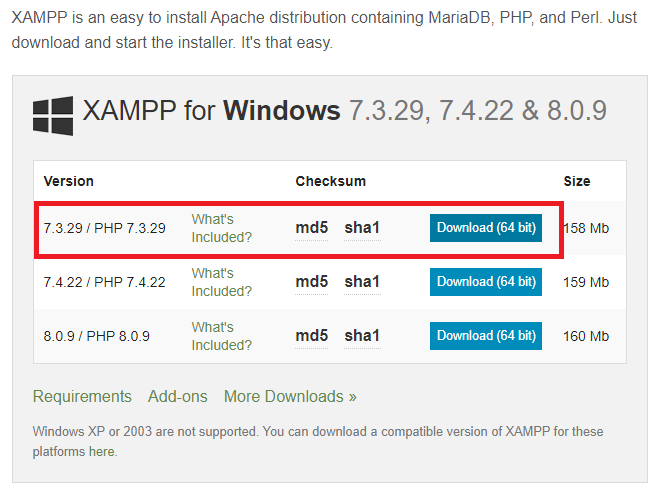
Step 1 : Download XAMPP: Visit the official XAMPP website (https://www.apachefriends.org/) and download the version of XAMPP that is compatible with your operating system.
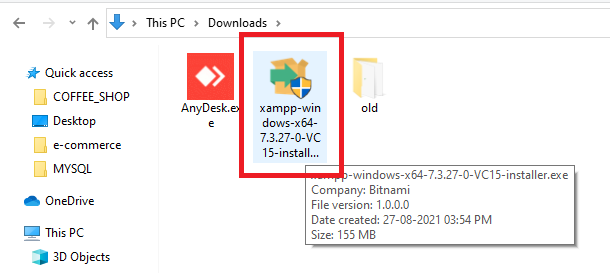
Step 2 : Install XAMPP: Double-click on the downloaded file to begin the installation process. Follow the instructions in the installer to complete the installation.
Step 3 : Click "Next" to start install XAMPP server.

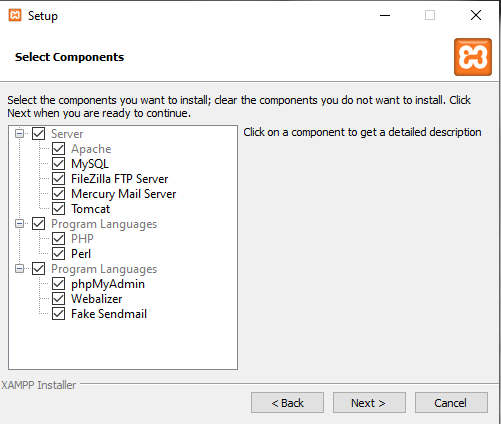
Step 4 : Choose components to install: During the installation process, you will be prompted to select which components you want to install. By default, all components are selected, but you can deselect any that you do not need. and click "Next"
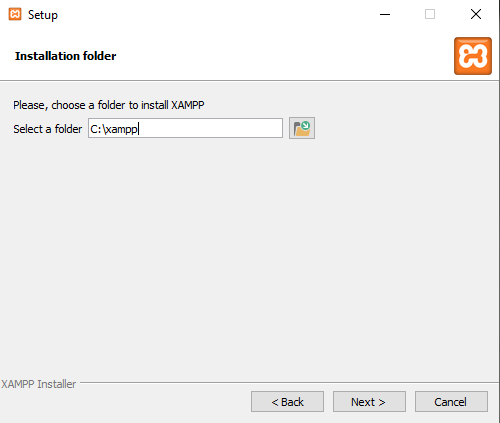
Step 5 : Choose installation directory: Choose the directory where you want to install XAMPP. The default directory is usually fine, but you can change it if you prefer. "Next" to install.
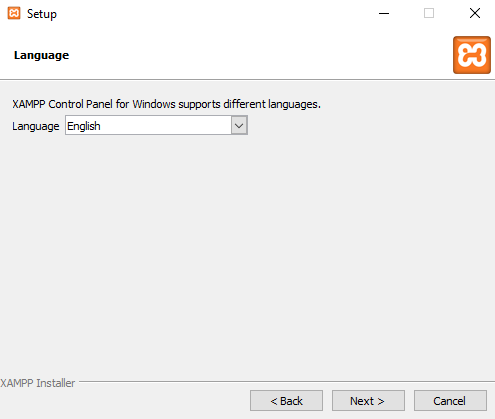
Step 6 : XAMPP control panel for windows supports different languages. if you want change languages, select the language and click "next"
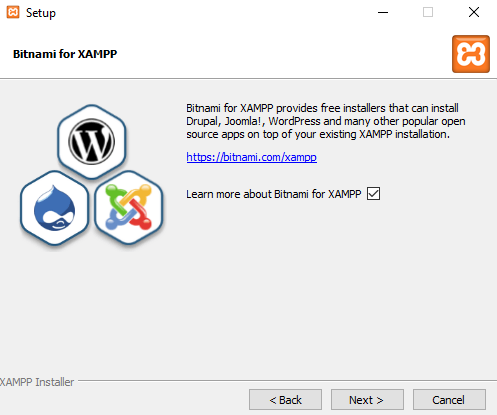
Step 7 : XAMPP control panel for windows supports many apps of your xampp installation click next to continue the installation
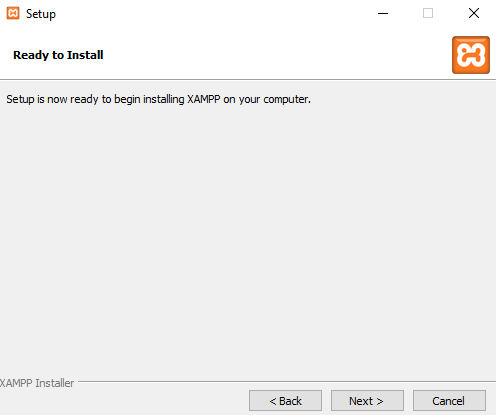
Step 8 : Setup is now ready to begin "Installing" xampp on your computer
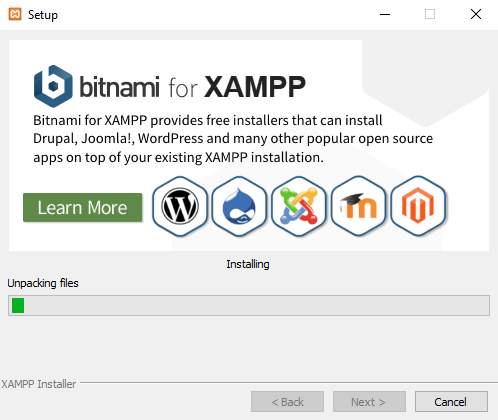
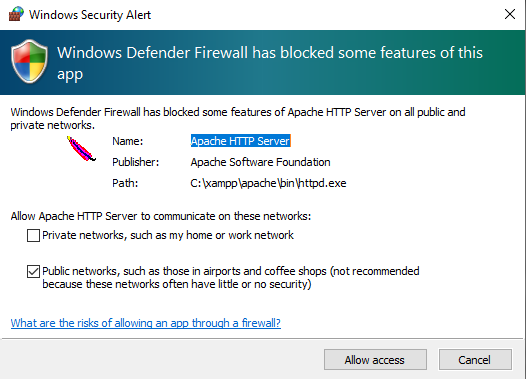
Step 9 : Wait until the installation complete and allow Apache HTTP server to communicate on these networks
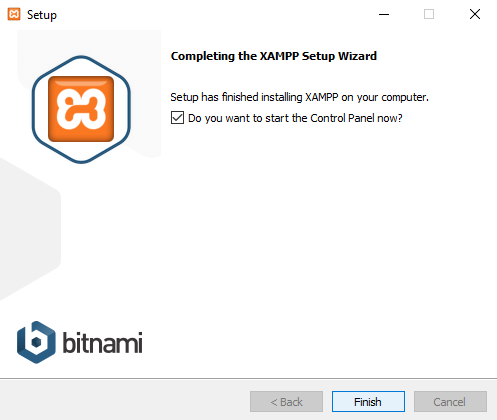
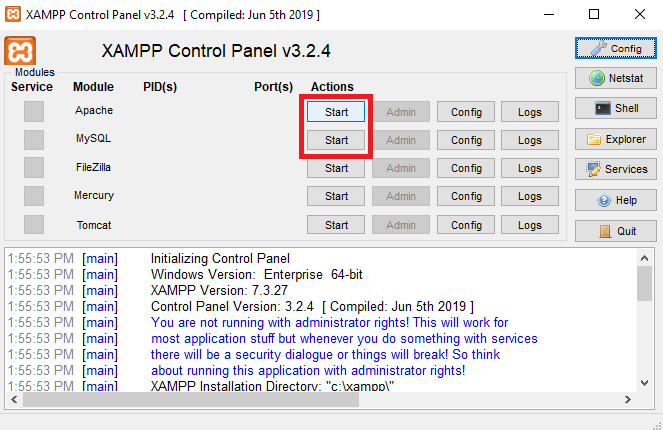
Step 10 : Start XAMPP: This will launch a control panel that allows you to start and stop the various components of XAMPP, such as Apache and MySQL.
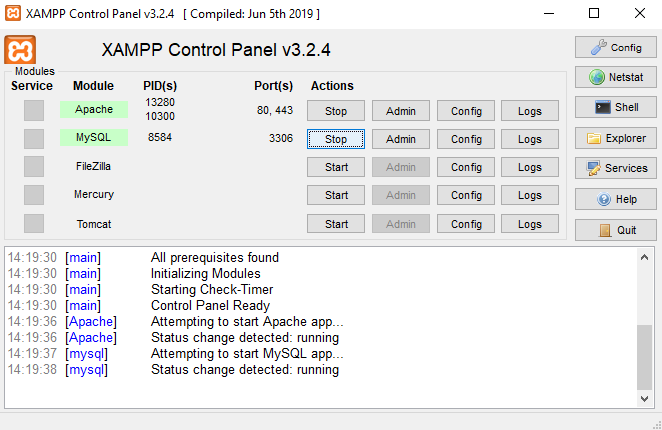
Test the installation: Open a web browser and navigate to http://localhost/. If everything is set up correctly, you should see the XAMPP welcome screen.
List of Programs
Learn All in Tamil © Designed & Developed By Tutor Joes | Privacy Policy | Terms & Conditions